Picture this: a perfectly golden, crispy pizza crust, bubbling cheese, and that irresistible hint of smoky char, all crafted right in your backyard. Sound like a dream? With a Weber Pizza Stone, it’s a delicious reality waiting to happen! Whether you’re a seasoned grill master or just starting your outdoor cooking adventure, mastering the Weber pizza stone can elevate your homemade pizzas from good to gourmet, bringing that authentic pizzeria taste straight to your plate. Forget delivery, because once you experience the magic of grill-fired pizza, there’s no going back.
Unlocking Pizzeria Quality: The Weber Pizza Stone Advantage
What’s the secret behind those restaurant-quality pizzas? Often, it’s the intense, even heat of a brick oven. A Weber pizza stone brings a similar dynamic to your home grill, transforming it into a high-temperature baking haven.
The Science Behind the Sizzle: Cordierite and Glazed Finishes
At the heart of many Weber pizza stones is cordierite ceramic, a material specifically chosen for its exceptional heat retention and absorption properties. This isn’t just fancy talk; it means the stone gets incredibly hot and stays hot, ensuring your pizza cooks quickly and evenly. More importantly, cordierite is a porous material that draws moisture away from your pizza dough, preventing soggy bottoms and delivering that coveted crispy crust every single time. Some Weber pizza stones also feature a glazed finish, which offers the same incredible cooking performance with the added benefit of easier cleanup – a win-win in our book!
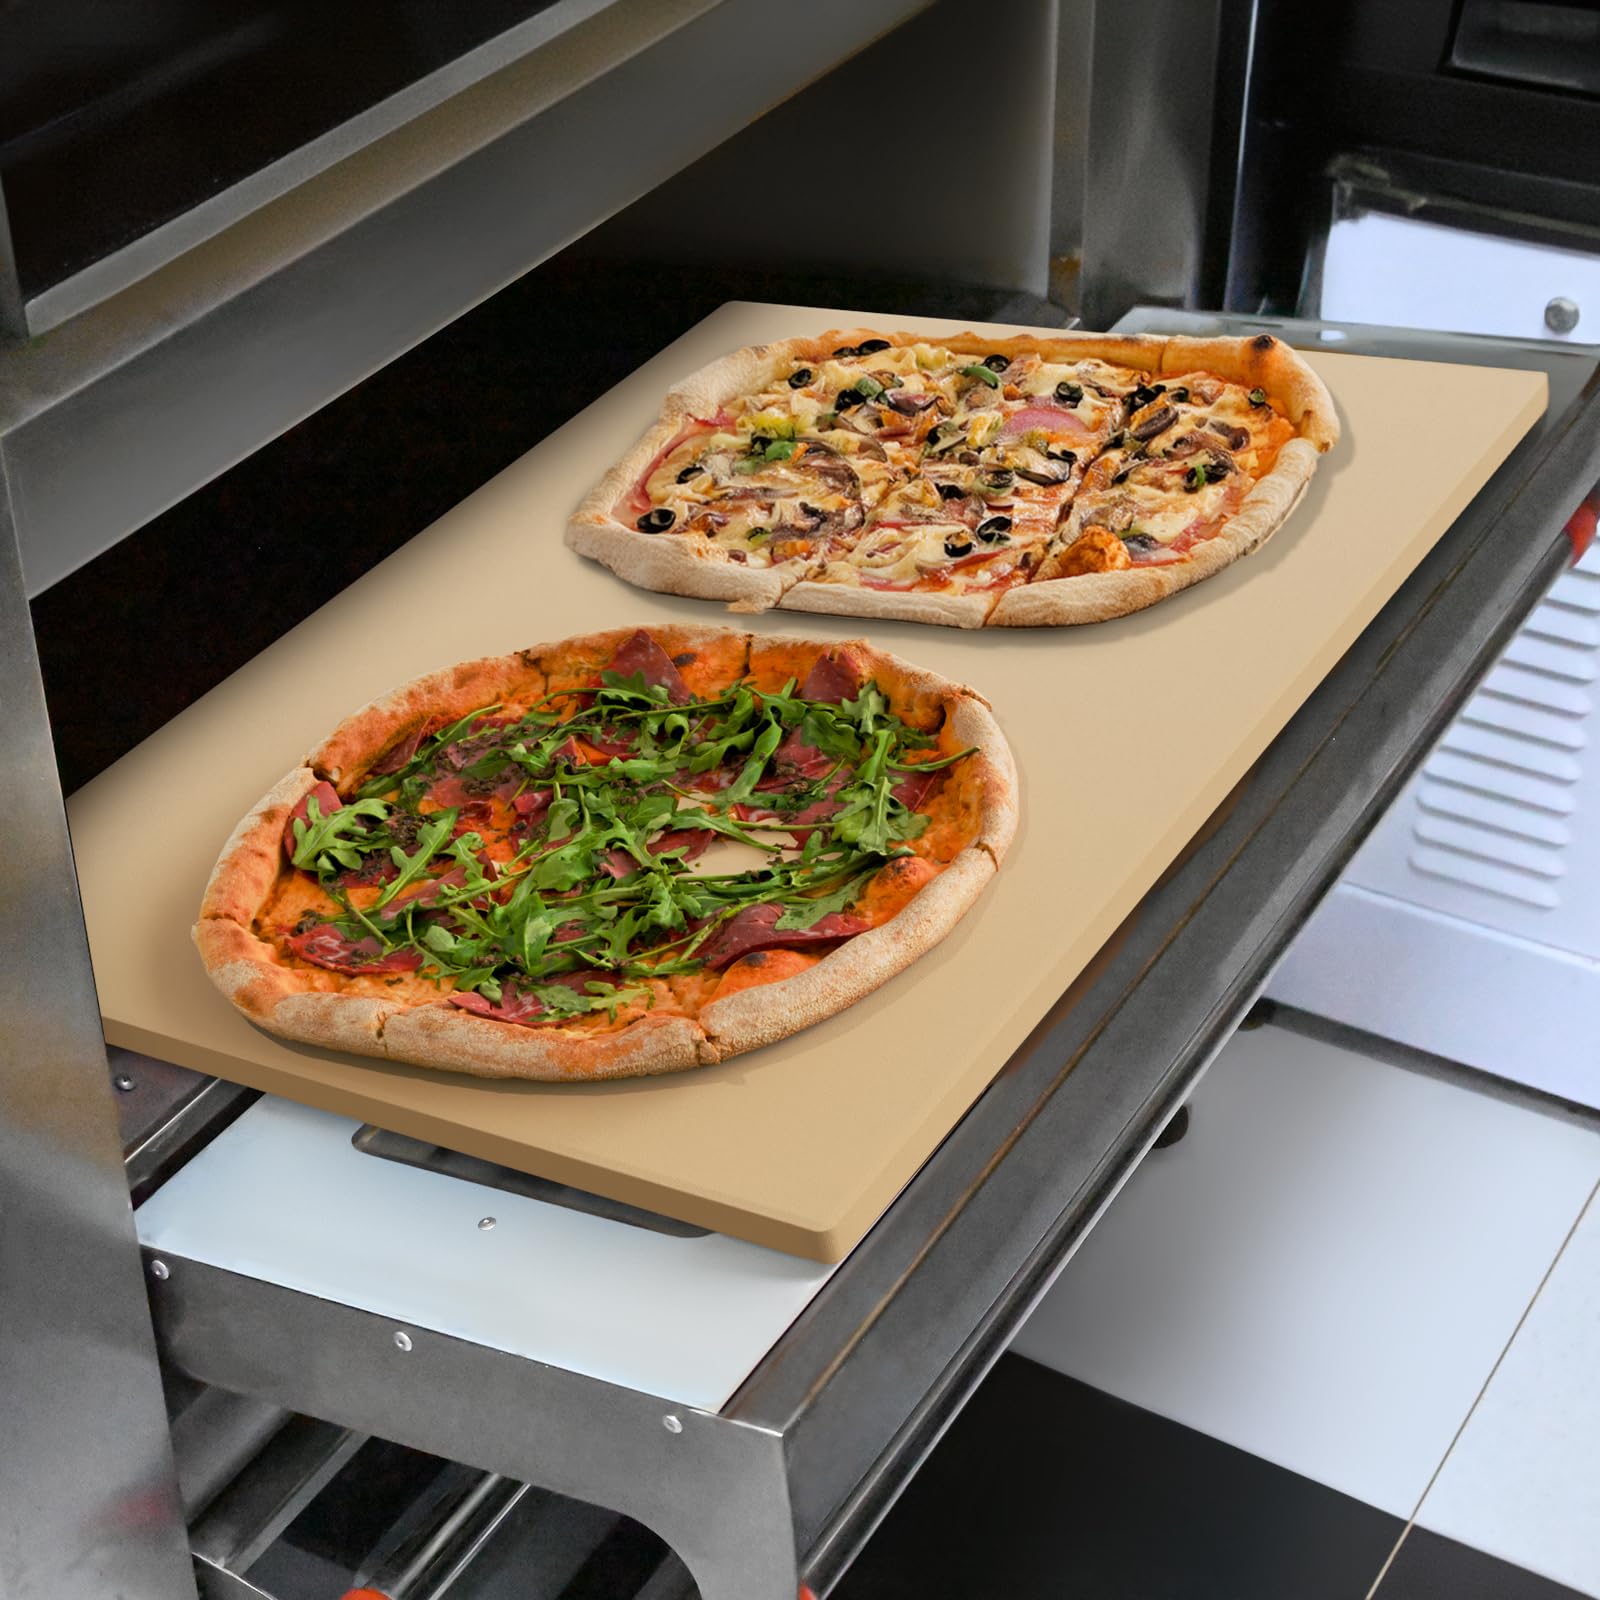
Seamless Integration: Designed for Your Weber Grill
One of the best things about a Weber pizza stone is its thoughtful design. Many models are specifically crafted to fit perfectly within Weber’s Gourmet BBQ System (GBS) or Weber Crafted frames, making them a natural extension of your grill. This ensures stability and optimal heat transfer. Plus, the convenience often extends to clever additions like integrated carry racks, making it a breeze to transport your piping hot pizza from the grill to the table. It’s all about making your outdoor cooking experience as smooth and enjoyable as possible.
From Chill to Char: Preparing and Preheating Your Stone for Action
Just like a chef preps their kitchen, preparing your Weber pizza stone correctly is vital for success. The most common mistake? Not giving it enough time to properly heat up.
The Golden Rule: Preheat with Your Grill
This is perhaps the most crucial tip: always place your pizza stone on a cold grill and let it preheat with the grill. Rushing this step by placing a cool stone on a hot grill can lead to thermal shock, which can cause your stone to crack – a heartbreaking sight for any pizza lover. Aim for your grill to reach a blistering 475-500°F (or even higher, up to 750-800°F for some models and setups) before you even think about putting on your pizza. This slow, gradual preheating allows the stone to absorb and radiate heat evenly, creating the ideal baking surface. It’s like building the perfect foundation for a culinary masterpiece.
Setting the Stage: Grill Configuration for Optimal Heat
Whether you’re firing up a gas grill or a charcoal kettle, a bit of strategic setup goes a long way. For gas grills, it’s often best to use indirect heat. This means lighting the outer burners to high and placing your Weber pizza stone in the center. This creates a convection-like oven effect, preventing the bottom of your pizza from burning while ensuring the top cooks beautifully. If you’re using a charcoal grill, distribute your charcoal evenly around the edges, avoiding a large pile directly beneath the stone. This helps maintain consistent heat and avoids hot spots that could scorch your crust. Some experienced grillers even elevate their stone closer to the lid using fire bricks or a second stone as a heat shield, promoting better top-down cooking.
Crafting Your Culinary Masterpiece: Cooking Pizza on Your Weber Stone
Now for the fun part – building and grilling your pizza! With your Weber pizza stone perfectly preheated, you’re just moments away from a fantastic meal.
Dough and Delights: Preparing Your Pizza
First, let your pizza dough come to room temperature for at least 30-45 minutes before stretching. This makes it more pliable and easier to work with. While it’s tempting to pile on every topping imaginable, resist the urge! Overloading your pizza can lead to an uneven cook, making the center soggy while the edges crisp up. Keep your toppings balanced to ensure everything cooks through beautifully.
The Perfect Launch: Transferring Your Pizza Like a Pro
Transferring your pizza onto the blazing hot stone can feel like a high-stakes operation, but with the right technique, it’s a breeze. A generously floured wooden pizza peel is your best friend here. Dust it liberally with semolina flour or all-purpose flour; this acts as tiny ball bearings, helping the dough slide smoothly. Some folks also swear by building their pizza directly on parchment paper, which can then be slid onto the stone and easily removed after a few minutes of cooking. Practice makes perfect, so don’t be discouraged if your first few launches aren’t magazine-perfect. Even a “fork pizza” tastes amazing!
The Grilling Game: Achieving That Crispy, Melty Perfection
Once your pizza is on the stone, close the grill lid immediately to trap the heat and allow the cheese to melt and the toppings to cook. Depending on your grill’s temperature and your desired crispness, your pizza will likely be ready in about 7 to 15 minutes. Keep an eye on it – you’ll want to peek a few times to ensure an even cook. For a truly authentic experience, you might even carefully rotate the pizza halfway through cooking to ensure all sides get equal exposure to the intense heat. You’ll know it’s done when the crust is golden brown and crispy, and the cheese is bubbly and slightly browned.
Beyond Pizza: Unleashing Your Weber Stone’s Full Potential
Don’t let the “pizza” in “pizza stone” limit your imagination! A Weber pizza stone is a versatile cooking tool that can handle much more than just pepperoni and mozzarella. Think about baking artisan breads with a beautifully crisp crust, or flatbreads brushed with olive oil and herbs. You can even experiment with baking cookies or roasting vegetables, all benefiting from the stone’s even, high heat. It’s like having an outdoor oven at your fingertips, ready to tackle a range of culinary creations.
Nurturing Your Stone: Care and Maintenance for Longevity
Taking good care of your Weber pizza stone ensures it will be a cherished part of your grilling setup for years to come. A little attention goes a long way in preventing damage and maintaining its performance.
The Gentle Cleanse: Water Only, Please!
When it comes to cleaning, think “gentle.” Always allow your Weber pizza stone to cool down completely after use before attempting to clean it. Once cool, simply rinse it with warm water. For any stubborn, stuck-on food particles, use a plastic scraper or spatula. The golden rule: never use soap or detergent on your cordierite pizza stone, as it’s porous and can absorb the chemicals, potentially altering the taste of future pizzas. Likewise, avoid soaking the stone in water, and absolutely do not put a hot stone under cold water – this is a recipe for thermal shock and cracking. Your pizza stone is not dishwasher safe, so keep it out of there! It’s completely normal for your stone to darken and develop stains over time; this is a natural seasoning process and won’t affect its performance or the flavor of your food.
Guarding Against Cracks: Preventing Thermal Shock
As mentioned, thermal shock is the arch-nemesis of a pizza stone. Beyond preheating gradually, be mindful of sudden temperature changes. Never spray a hot stone with water. Also, avoid storing your Weber pizza stone outside, especially in cold weather conditions, as extreme temperature fluctuations can lead to cracks. Treat it with a little care, and it will serve you well.
Troubleshooting Common Weber Pizza Stone Issues
Even with the best intentions, you might run into a snag or two. Don’t worry, most common issues have simple solutions.
Soggy Bottoms No More
If your pizza crust isn’t as crispy as you’d like, the culprit is often insufficient preheating or a stone that’s not hot enough. Ensure your Weber pizza stone reaches its optimal temperature before launching your pizza. A thinner crust and mindful topping application can also help achieve that desired crunch.
The Stick-Free Secret
Pizza sticking to the stone can be frustrating. This usually happens if the stone wasn’t preheated enough, or if your pizza peel wasn’t generously floured. Ensure your stone is piping hot and use plenty of semolina or flour on your peel for a smooth transfer. Building on parchment paper is also a great workaround.
The Dreaded Crack: Prevention is Key
A cracked pizza stone is often a result of thermal shock. This can be caused by placing a cold stone on a scorching hot grill, rapidly cooling a hot stone with water, or storing it in freezing outdoor conditions. Remember, slow and steady wins the race when heating, and always let it cool naturally.
Frequently Asked Questions
Q: Can I use my Weber pizza stone in a regular indoor oven?
A: Yes, absolutely! Weber pizza stones are versatile and designed to perform beautifully in conventional indoor ovens, providing the same crispy crust benefits.
Q: How hot should my grill be for cooking pizza on a Weber stone?
A: For optimal results, preheat your grill with the Weber pizza stone to a high temperature, ideally between 475-500°F. Some setups can even reach 750-800°F for faster cooking.
Q: Is it normal for my Weber pizza stone to get stained and change color?
A: Yes, it’s completely normal for your pizza stone to darken and stain with use. This is part of its natural seasoning process and will not affect its performance or the taste of your food.
Q: What’s the best way to clean my Weber pizza stone?
A: Allow it to cool completely, then rinse with water and scrape off any stuck-on food with a plastic spatula. Do not use soap, detergents, or soak the stone, as it can absorb chemicals and crack.
Q: Why did my pizza stick to the Weber pizza stone?
A: Pizza usually sticks if the stone wasn’t adequately preheated or if your pizza peel wasn’t sufficiently floured before launching the dough. Ensure both are properly prepared.
Q: Can I use a metal pizza peel with my Weber stone?
A: While metal peels are great for retrieving a cooked pizza, a wooden pizza peel dusted with semolina or flour is generally recommended for launching raw dough to prevent sticking.
Q: How long does a Weber pizza stone typically last?
A: With proper care, particularly avoiding thermal shock (sudden temperature changes) and proper cleaning, a Weber pizza stone can last for many years of delicious pizza making.
The Journey to Grill-Fired Pizza Perfection
Using a Weber pizza stone isn’t just about cooking; it’s about an experience. It’s about gathering around the grill, experimenting with flavors, and sharing the joy of perfectly cooked, crispy, smoky pizza with friends and family. As Chef Isabella Rossi, a renowned pitmaster and home pizza enthusiast, often says, “A Weber pizza stone isn’t just an accessory; it’s a gateway to unlocking that authentic, stone-baked flavor right in your backyard. The secret lies in understanding its heat dynamics and treating it with a little love.” So, fire up your Weber, embrace the process, and get ready to create unforgettable pizzas that will have everyone asking for another slice. Happy grilling!